


Plumbing emergencies can be stressful, whether it’s a burst pipe, a leaking boiler, or a blocked toilet. While waiting for a professional plumber to arrive, there are several steps you can take to minimise damage, ensure your safety, and make the repair process quicker and smoother. Knowing what to do before the plumber arrives can save you time, money, and stress.
This guide walks you through the essential actions you should take, from shutting off water to documenting damage, so that when your plumber arrives, they can get to work immediately.
Why Preparation Matters Before the Plumber Arrives
Many homeowners assume that calling a plumber is enough — but every minute before they arrive is critical. Acting fast can:
Prevent further water damage.
Lower your repair costs.
Protect your belongings.
Make diagnosis and repairs easier for the plumber.
By learning what to do before the plumber arrives, you’ll be in control of the situation rather than panicking.
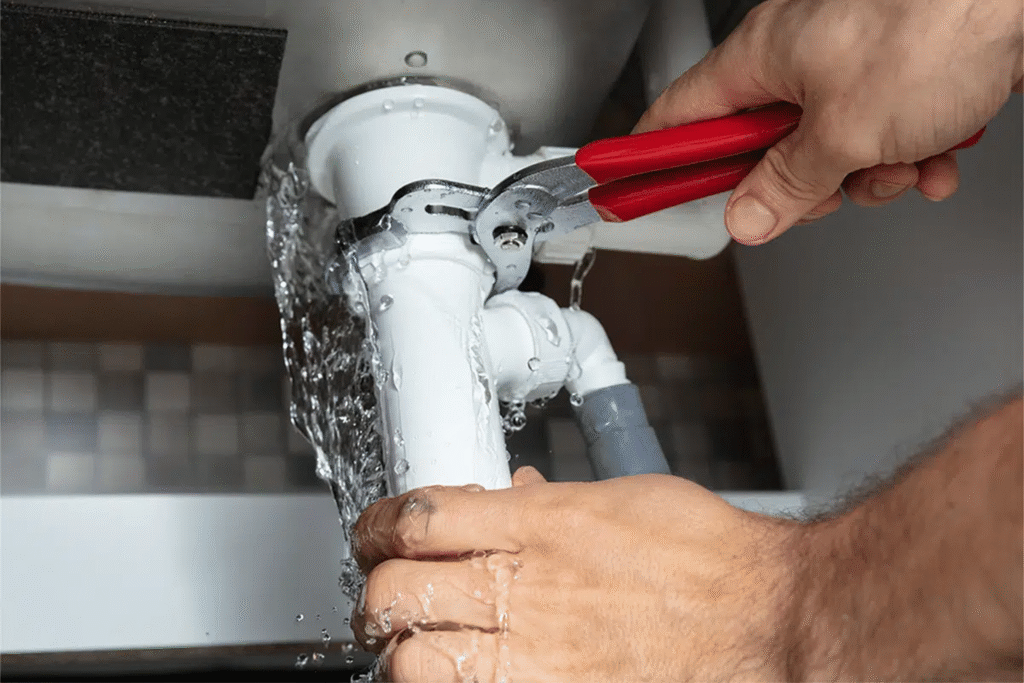
Step 1: Turn Off the Water Supply
The first and most important step is to cut off the water supply.
For leaks and burst pipes – Locate the stopcock (main shut-off valve), usually under the kitchen sink, in the bathroom, or near the water meter. Turn it clockwise until it stops.
For appliances – Washing machines and dishwashers often have their own isolation valves.
For toilets – Look for the isolation valve on the pipe leading to the cistern.
This step alone can prevent litres of water from flooding your home before help arrives.
Step 2: Switch Off Power if Necessary
Water and electricity are a dangerous combination. If you notice water leaking near sockets, lighting, or electrical appliances, turn off your electricity at the mains.
Never touch wet appliances.
Avoid standing water if electrical outlets are nearby.
Use a torch rather than light switches if visibility is poor.
Safety should always come first while waiting for a plumber.
Step 3: Contain the Leak or Blockage
Once water is off, focus on containing the problem.
Use buckets, pans, or towels to catch dripping water.
Place a bowl under leaking pipes.
For blocked drains, avoid pouring chemicals — this can make the plumber’s job harder and more hazardous.
For toilets, don’t keep flushing; this may cause overflow.
Containment won’t fix the problem, but it buys you valuable time.
Step 4: Protect Your Belongings
Move furniture, rugs, and valuables away from the affected area. Water damage can be costly, and even a few centimetres of water can ruin electronics, wooden furniture, and carpets.
Tip: If you have waterproof plastic storage boxes, move vulnerable items into them until repairs are complete.
Step 5: Document the Damage
If the leak has caused significant damage, take photos and videos before cleanup. These may be useful for:
Insurance claims.
Landlord-tenant disputes.
Reference for the plumber to understand the extent of the issue.
Documentation ensures you have evidence if you need financial support to cover repairs.
Step 6: Make Space for the Plumber
A plumber will work faster and more efficiently if the work area is clear.
Move items stored under sinks or around appliances.
Clear access paths to the boiler, bathroom, or kitchen.
Keep pets in a separate room.
By preparing the space, you’ll save time and potentially reduce your labour costs.
Step 7: Gather Important Information
Before the plumber arrives, note down:
Where the leak started.
When you first noticed the problem.
Any noises (gurgling, dripping, banging pipes).
Actions you’ve already taken (turning off water, temporary fixes).
This information helps the plumber diagnose the issue more accurately.
Step 8: Know Your Plumbing Basics
Homeowners don’t need to be experts, but a little knowledge goes a long way. Familiarise yourself with:
Stopcock location.
Fuse box location.
Appliance shut-off valves.
Type of boiler or heating system.
This knowledge makes you more confident during emergencies.
Step 9: Communicate Clearly with Your Plumber
When you call your plumber, be ready to provide clear details:
The nature of the problem (leak, blockage, heating issue).
The severity (is water spreading quickly?).
The exact location in your home.
The clearer your explanation, the better prepared your plumber will be with the right tools and parts.
Step 10: Temporary DIY Fixes (If Safe)
While it’s best to leave major repairs to professionals, small temporary fixes can prevent worsening damage:
Pipe tape or a rubber patch can temporarily seal small leaks.
Plunger can help with minor toilet or sink clogs.
Bucket under a drip buys time and prevents floor damage.
Important: Never attempt complicated plumbing fixes unless you are confident — mistakes can make things worse and increase repair costs.
Extra Tips on What to Do Before the Plumber Arrives
Have Towels and Buckets Ready
Even if you’ve shut off water, residual drips will continue for a while.
Ventilate the Area
Open windows to reduce moisture and humidity, especially if carpets or walls are damp.
Check Neighbouring Rooms
Leaks often spread — check ceilings, walls, and floors near the source for secondary damage.
Prepare Payment Method
Many plumbers request payment on completion. Check in advance whether they accept card, cash, or bank transfer.
Common Mistakes to Avoid Before the Plumber Arrives
Pouring harsh chemicals into blocked drains.
Attempting major DIY repairs without knowledge.
Leaving belongings in the affected area.
Ignoring safety risks like electricity near water.
Avoiding these mistakes ensures the problem doesn’t escalate.
How to Prevent Future Plumbing Emergencies
While this guide focuses on what to do before the plumber arrives, prevention is just as important.
Schedule regular plumbing inspections.
Insulate pipes to prevent freezing in winter.
Avoid flushing wipes or grease down drains.
Replace worn-out appliance hoses.
Install water leak detectors for early warnings.
A little prevention saves thousands in future repairs.
When to Call a Professional Immediately
Some plumbing issues can’t wait. Call a plumber straight away if:
You have a burst pipe or major leak.
Sewage is backing up into your home.
Your boiler is leaking or losing pressure.
You notice water near electrical systems.
These situations can cause major damage or pose serious health risks.
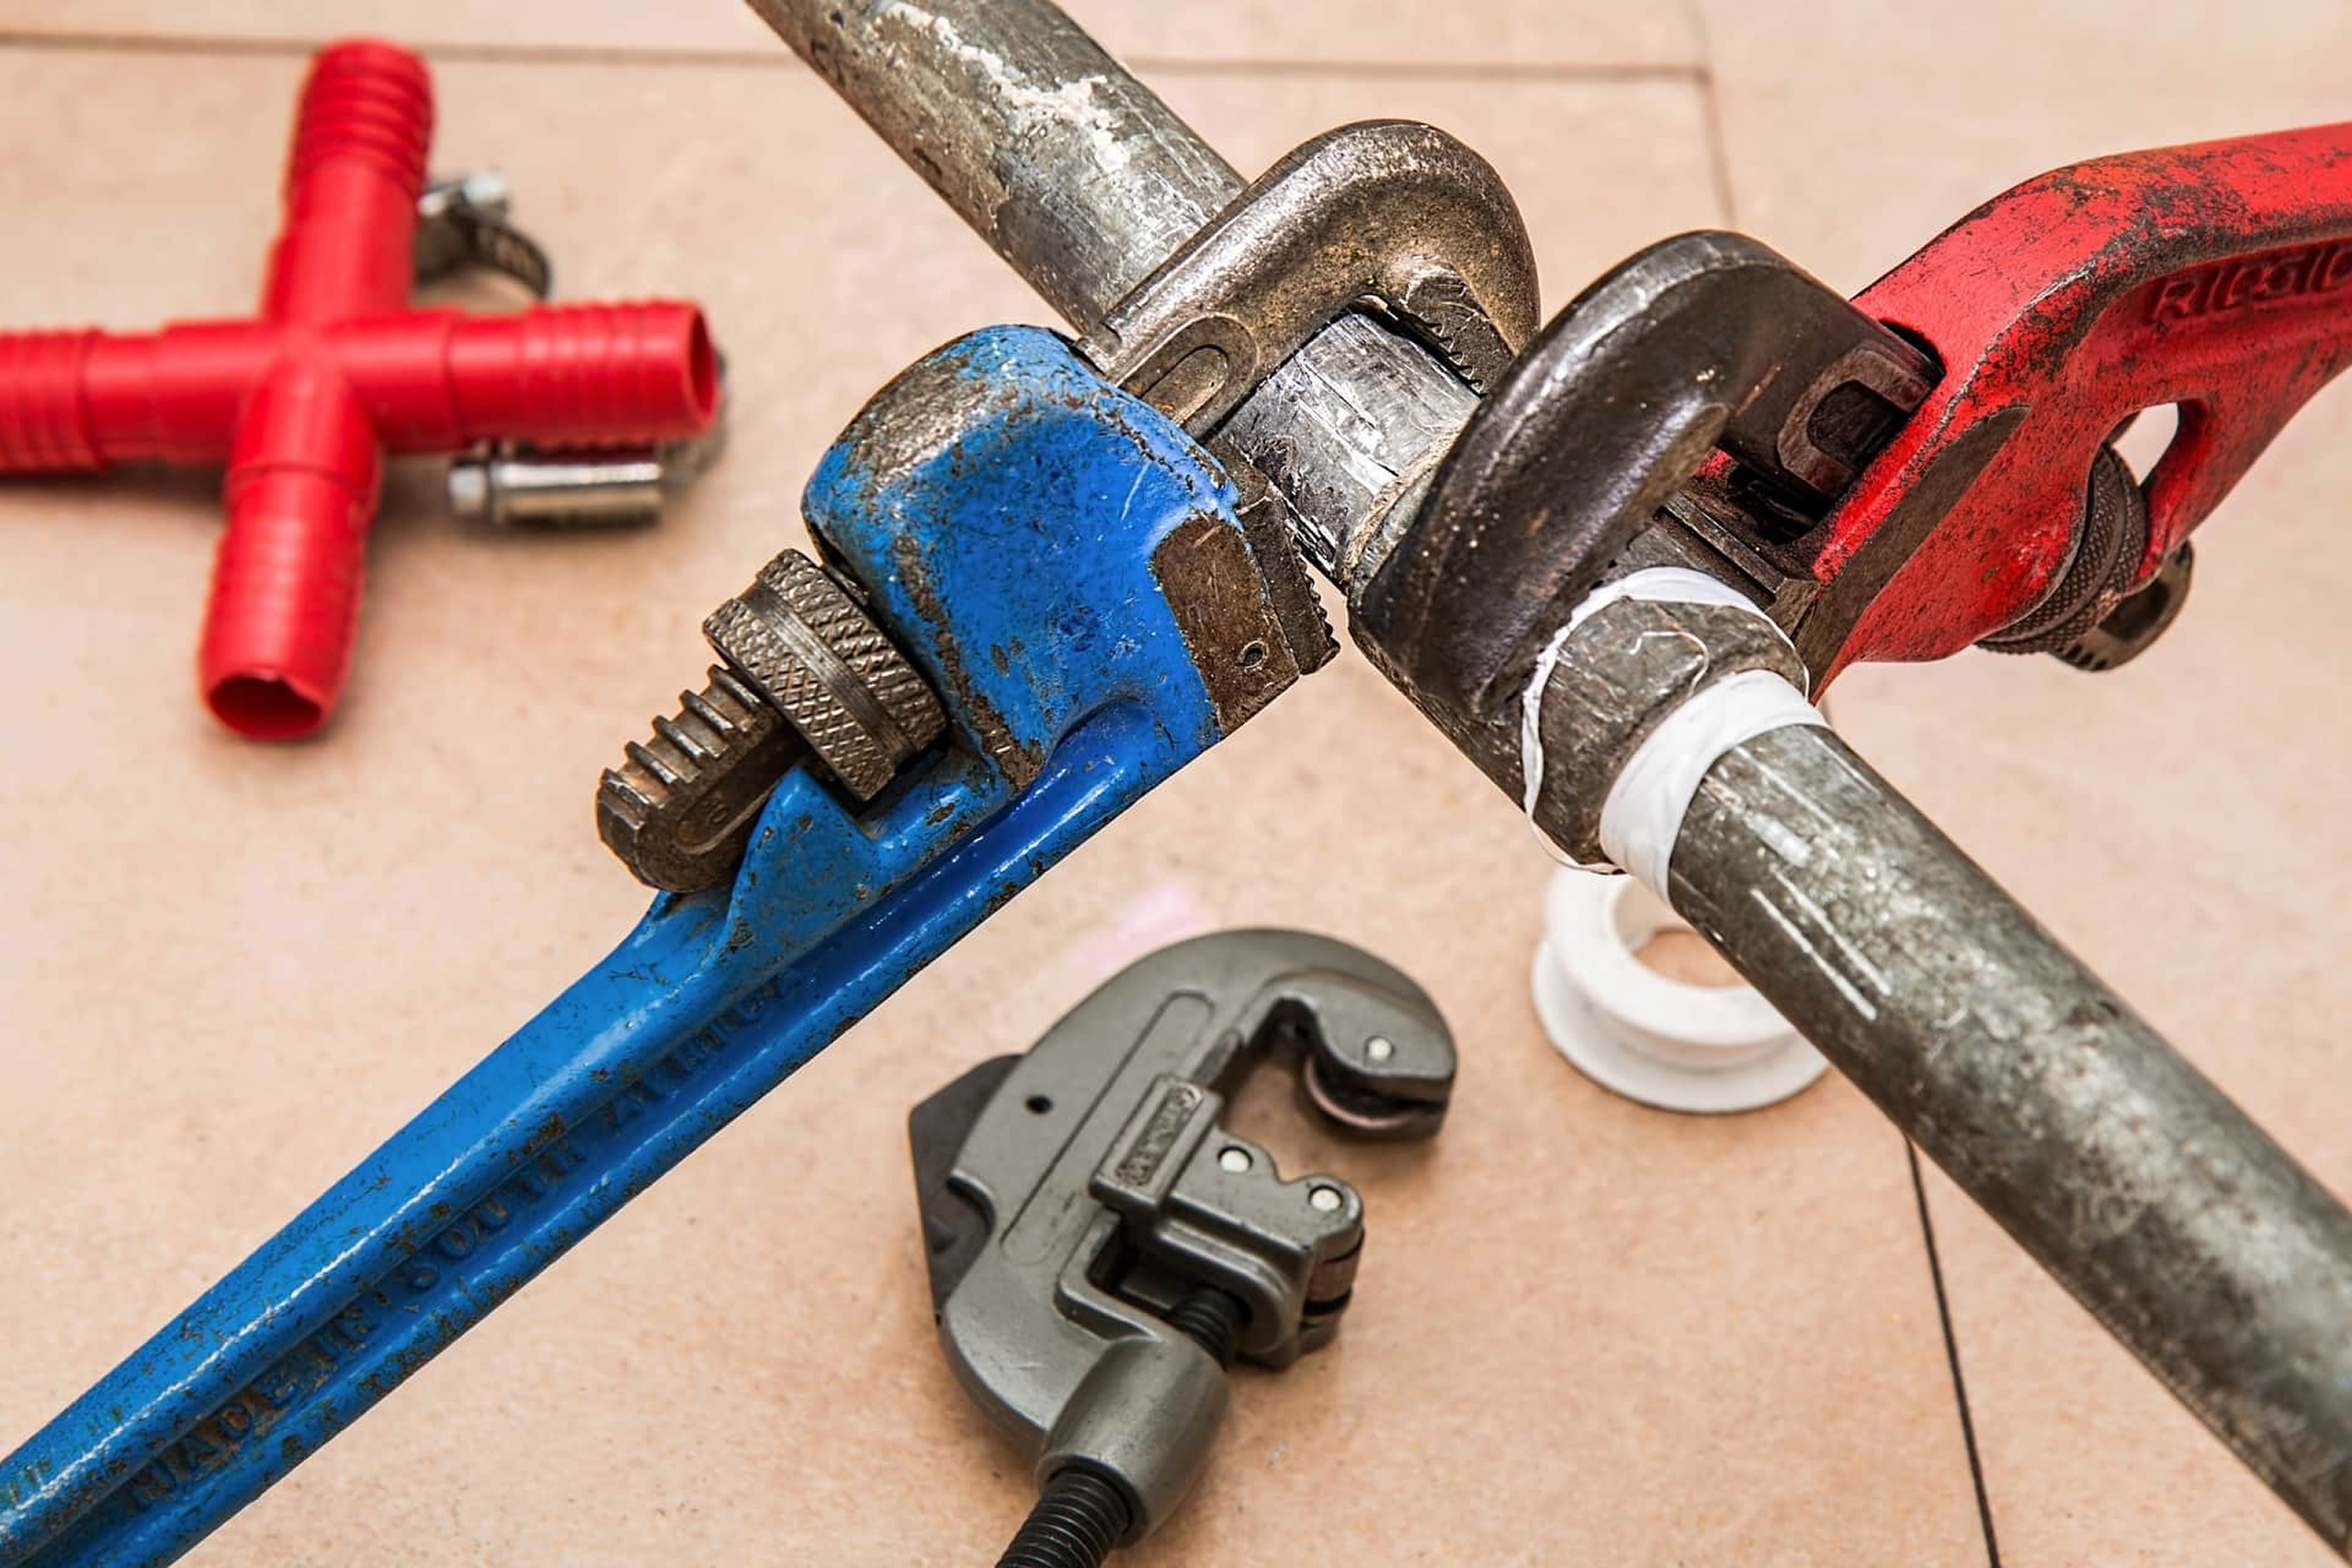
Create a Plumbing Emergency Kit
Most households have a first-aid kit, but very few think about a plumbing kit. Having a few basic items ready can save precious time while waiting for a plumber:
Adjustable spanner or wrench.
Plunger for sinks and toilets.
Pipe repair tape or rubber patch.
Heavy-duty bucket.
Old towels or rags.
Torch or headlamp for dark spaces.
This kit ensures you’re never scrambling around when a leak or blockage occurs.
External Resources for Homeowners
Here are some useful resources to learn more:
NHS – Damp and Mould Health Risks
Final Thoughts
Knowing what to do before the plumber arrives puts you one step ahead in any plumbing emergency. Acting quickly to shut off water, protect belongings, and prepare the work area makes the repair process smoother and less costly.
A prepared homeowner not only reduces damage but also helps the plumber fix the issue faster. Next time a plumbing crisis strikes, you’ll know exactly what to do.


